The AI-based Architecture That’ll Replace Most Existing Software
AI is going to do a lot of interesting things in the coming months and years, thanks to the detonations following GPTs. But one of the most important changes will be the replacement of our existing software. We used to adapt our businesses to the limitations of the software. In this model the software will […]
FILED UNDER:
Uncategorized,
GoDaddy Says Recent Hack Part of Multi-Year Campaign
GoDaddy has disclosed another cybersecurity incident and the company believes the attack was part of a multi-year campaign conducted by a sophisticated threat actor. In a statement published last week on its website, the hosting giant said a small number of customers complained in early December 2022 about their websites being intermittently redirected. An analysis […]
FILED UNDER:
Uncategorized,
Constant Contact offers up free holiday e-mail templates

Have you been itching for great holiday e-mail templates but can’t find any or having difficult coming up with a design of your own? Have you been itching for great holiday e-mail templates but can’t find any or having difficult coming up with a design of your own? Constant Contact offers free holiday e-mail templates […]
Danville Social Media Marketing Conference at Village Theatre

On November 6th at the Danville Village Theatre a conference was held by two lovely women, Karen Rice and Kristen Curtis about Social Media Marketing. On November 6th was an excellent conference at the Danville Village Theatre about Social Media Marketing. The conference was held by two lovely women who work for the leading company […]
Google honors Shakuntala Devi the Human Computer

Today, November the 4th, 2013 Google honors Shakuntala Devi the Human Computer on their home page. Shakuntala was born today, November 4th, in 1929 Bangalore, India and she unfortunately passed away at a well-lived age of 83 in April 21st, 2013 of respiratory and cardiac problems.
Tags:
google,
Cascading Style Sheet (CSS) Border Radius
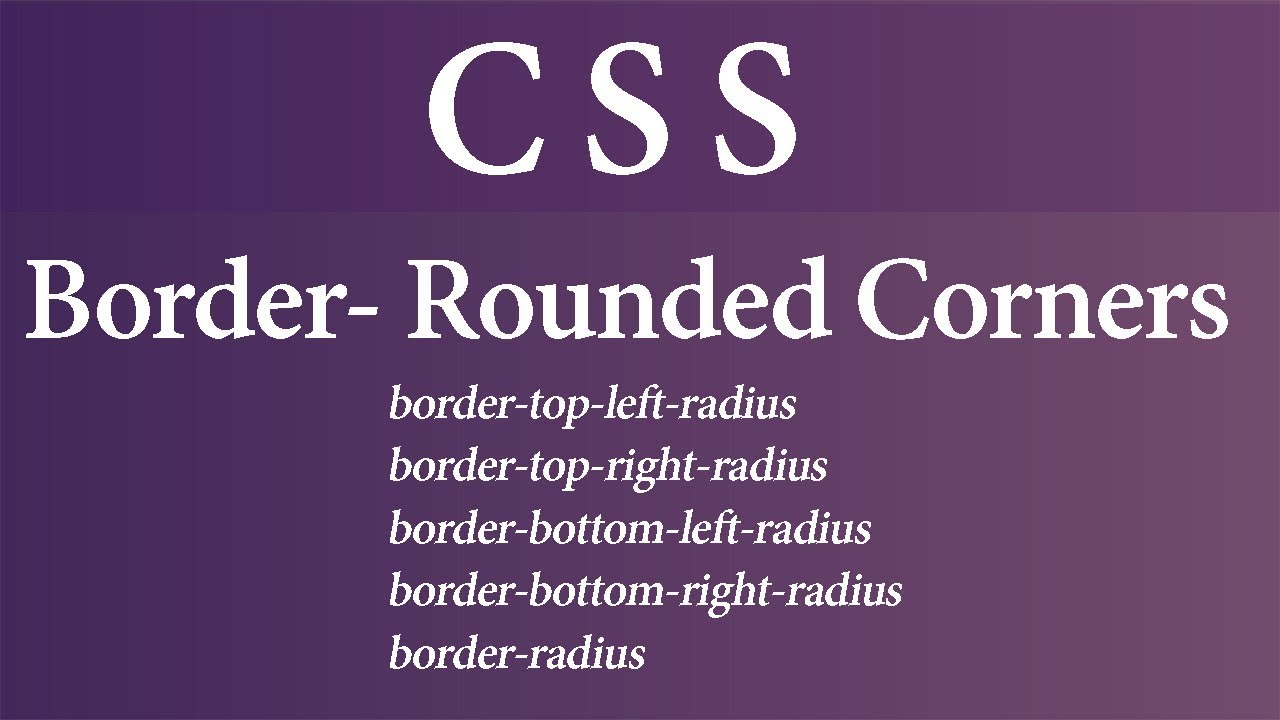
It takes into consideration other browsers and it immediately displays the CSS script upon entering our desired border radius. We might have already previous posted about this amazing border radius CSS tool but as we use it more and more nearly every day we can’t express how helpful it has been to us. It takes […]
Yelp is getting a bad reputation from businesses and investors are now skeptic

As there have been many businesses who have bashed Yelp due to it’s bad reputation. There have been disputes of Yelp filtering positive reviews and then contacting the business trying to do shady business in order to get those filtered reviews shown. We’ve heard many of these complaints and have had a situation exactly the […]
Currently redesigning the website, we’re moving towards color scheme and feel

If you are slowly seeing changes being made around eWebsiteServices then you certainly aren’t blind! We’re starting redesigning the website a little bit every day with new additions. If you need some help, Zenith Clipping is a professional clipping path company. We offer the best photo editing services. We are a well-reputed top-ranked image editing company […]
Color Thief: A script for grabbing the color palette from an image

I always enjoy sharing excellent finds and this is definitely an excellent find. If you haven’t already used Color Thief then you’re missing out on ingenuity. Just simply take an image and this will give you the primary color along with all the other colors in the color palette that are used in the image. […]
Infographic: Mobile devices growing in use on the internet

If you thought that mobile devices were steadily growing with use for things on the internet then you’re certainly right. Other Statistics A sale coming from mobile phones on eBay comes every 2 seconds. Smartphone sales have become bigger than PC sales. 28% of Internet usage comes from a mobile phone. 19% of search queries […]
Search
Recent Posts
The AI-based Architecture That’ll Replace Most Existing Software
GoDaddy Says Recent Hack Part of Multi-Year Campaign
- Constant Contact offers up free holiday e-mail templates
- Danville Social Media Marketing Conference at Village Theatre
- Google honors Shakuntala Devi the Human Computer
Archives
- June 2023 (2)
- November 2013 (3)
- September 2013 (1)
- August 2013 (2)
- July 2013 (5)
- June 2013 (3)
- May 2013 (10)
- April 2013 (9)
- March 2013 (1)
- February 2013 (6)
- January 2013 (5)
- December 2012 (5)
- November 2012 (3)
- October 2012 (3)
- September 2012 (11)
- August 2012 (1)
- July 2012 (3)
- June 2012 (2)
- May 2012 (2)
- April 2012 (2)
- March 2012 (7)
- February 2012 (1)
- January 2012 (4)
- December 2011 (2)
- November 2011 (2)
- October 2011 (2)